
I received a call the other day from some good clients of ours. They have guests arriving and when they went to turn on the water heater, for that part of the house, it lit once and went out and would not relight. They needed to fix or replace it ASAP or the guests would be taking cold showers. The way almost all water heaters work, is pretty simple. They have a control box that looks something like this.
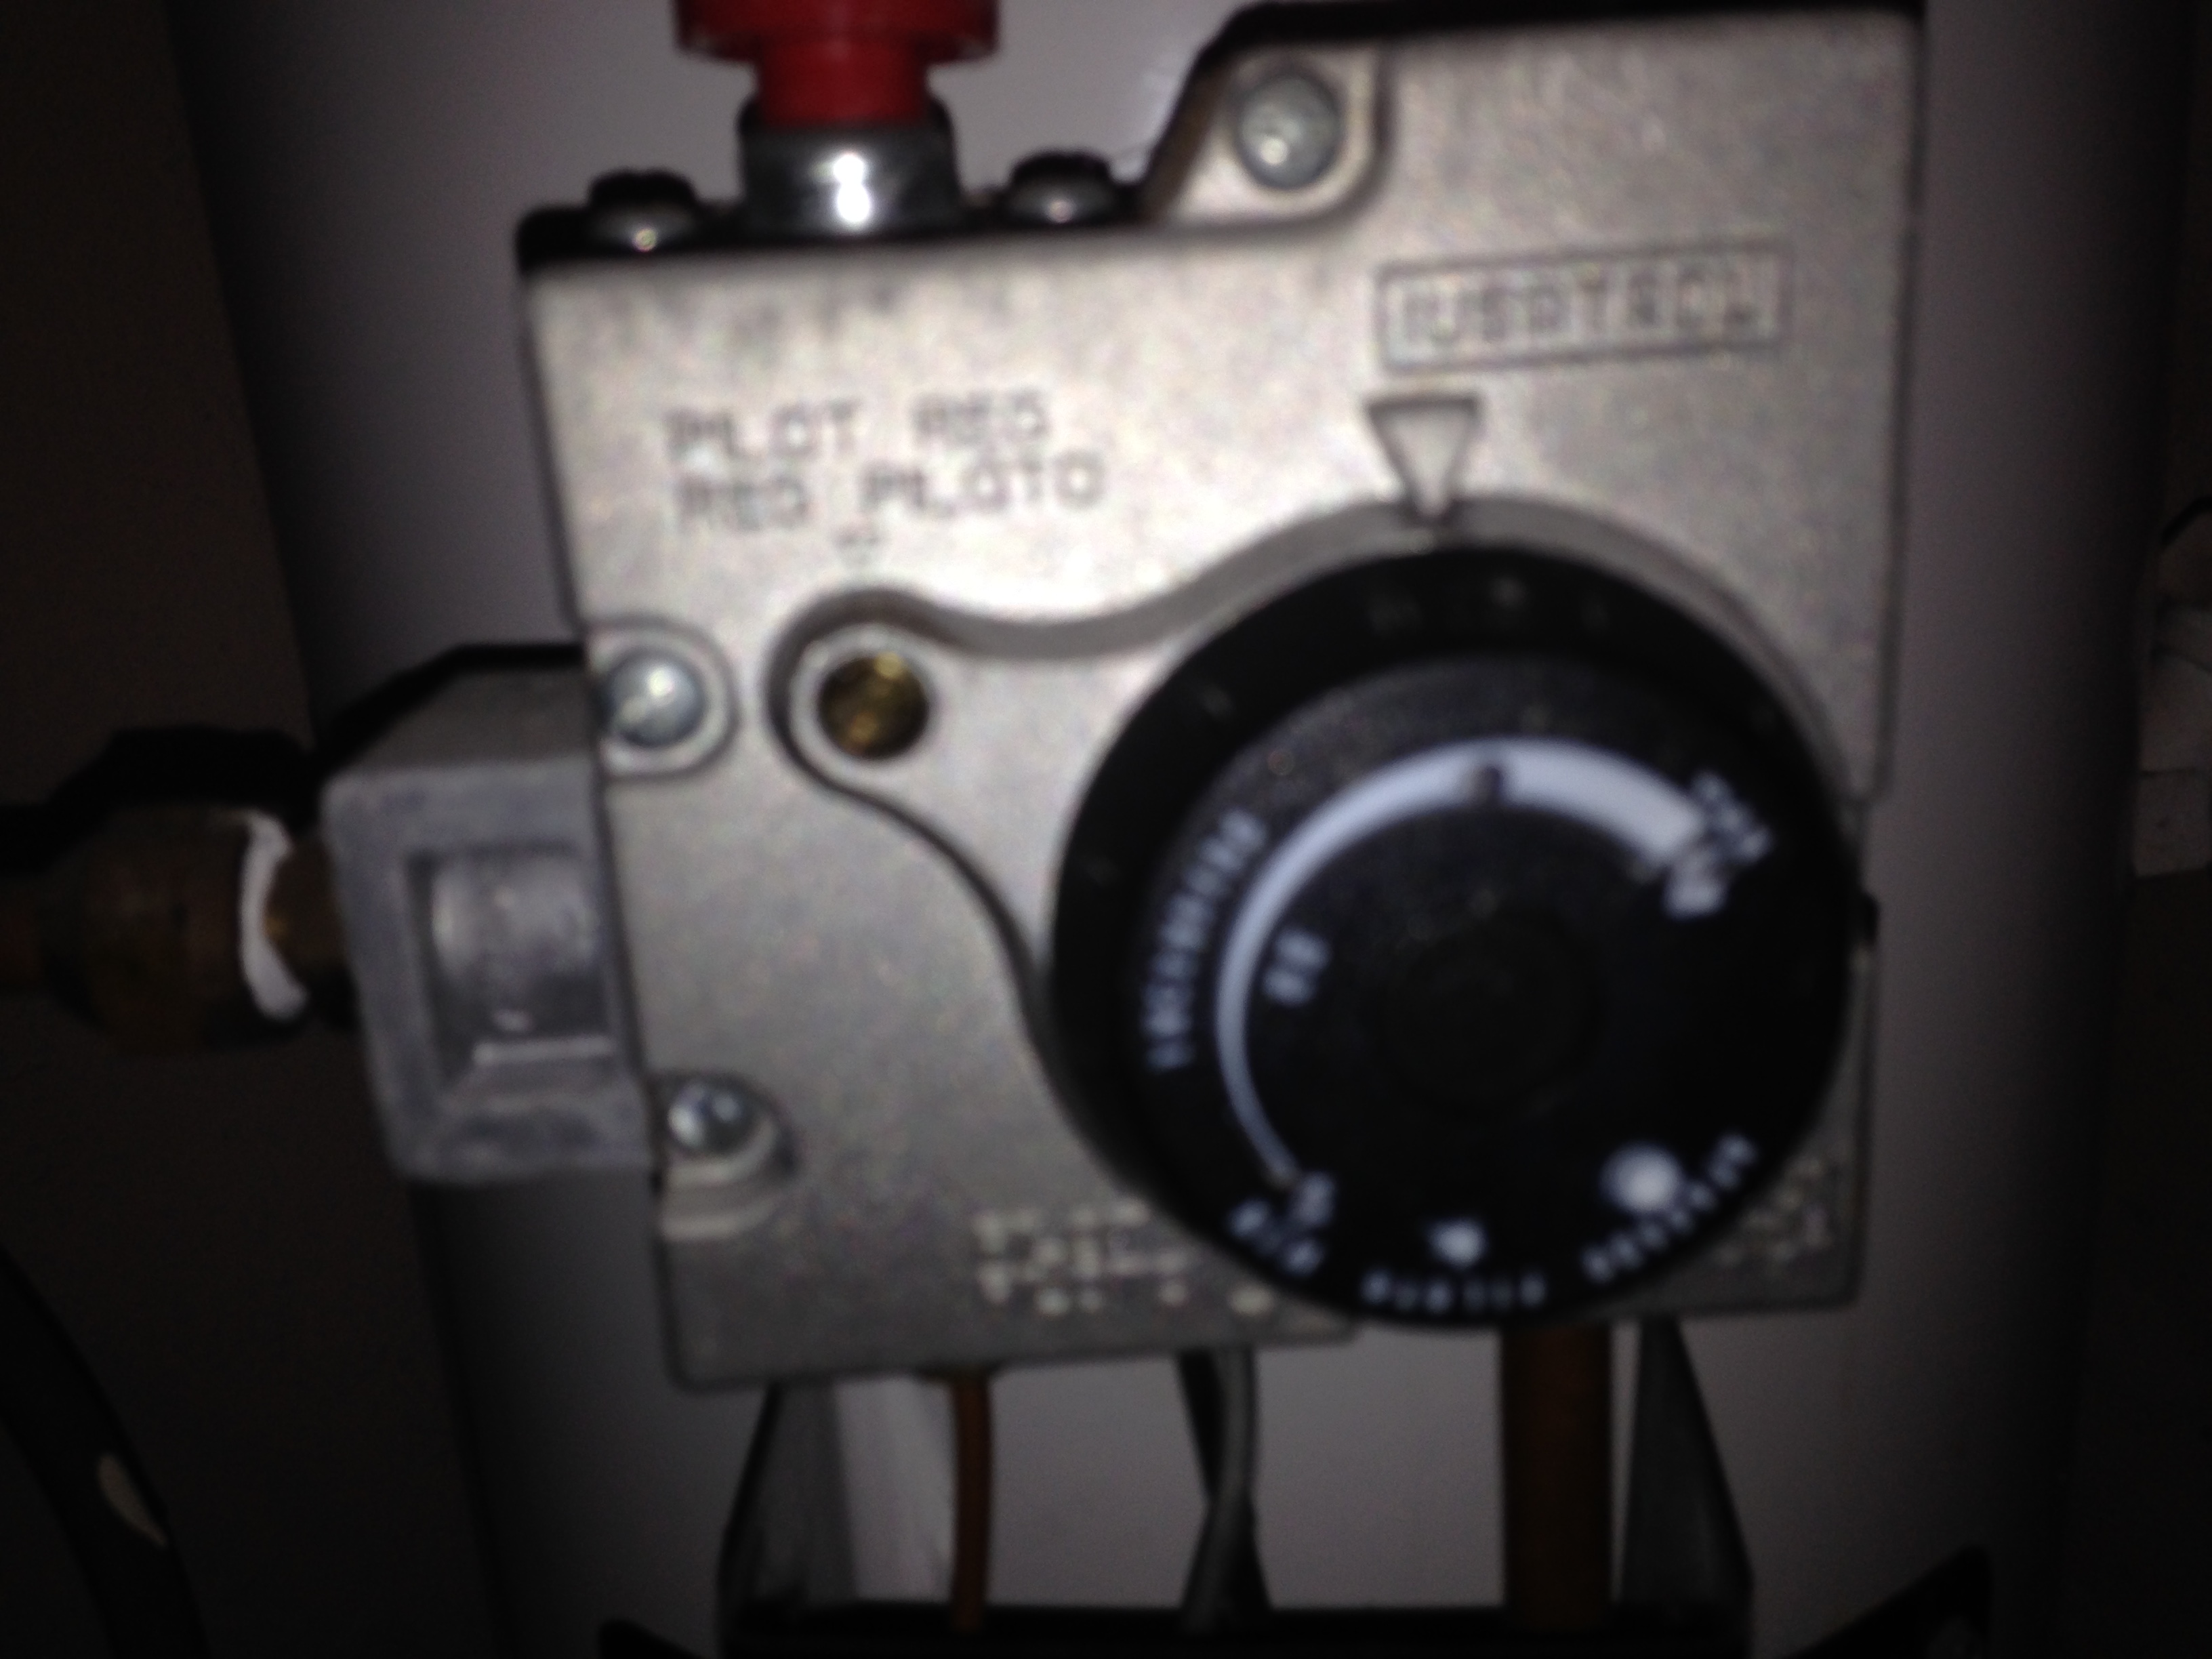 The dial on the face controls the temperature setting and the red button on top is held down as part of the pilot lighting procedure. The little bronze screw at the 10 o’clock position controls the pilot lights gas flow and is used to adjust the strength of the flame of the pilot light. A windy area may need a stronger flame (counter clockwise is more flame)
 Under normal conditions, to start up a unit that has been shut off or blown out, you turn the control knob, on the face, to off and then to pilot. You open the trap door at the front of the unit and locate the pilot light which looks something like this when lit. The pilot light has a thermocouple, when hot it supplies a small electical charge to the control box, allowing the flow of gas. If the pilot goes out, all gas gets shut off at the control box. Once you locate the pilot you need a method to light it. Some heaters have a Piezo starter, but in my experience, they never work when needed. A good stand by, is a long match or BBQ lighter. Ok back to starting, main dial to pilot, light match or lighter and put near the top of the Thermocouple pilot assembly and press and hold down the red button. The pilot should light and after 20 or so seconds, you should be able to release the red button and the pilot should remain lit. Now all you need to do, is turn the dial to the on setting and all should be good. But what if it won’t light or stay lit? It is usually 1 of 2 problems.
Problem 1 The gas line that feeds the pilot is very small and is easily corroded, if you are in an area near saltwater. It is also the perfect spot for small bugs to make a nest. Either one can block it while it was not being used.
Problem 2 The Thermocouple has failed and is no longer sending a signal when hot.
The solution to both problems, is to replace the thermocouple pilot light assembly, which as of Yesterday was a 50 peso part and should take about 20 minutes the first time you do it.

The thermocouple pilot light assembly looks like this when the flame is out. It is at the end of the 2 smaller tubes leaving the control box, and consists of a small metal cylinder (thermocouple) and a metal shape that looks like a Cobras hood (pilot light). To see the pliot light assembly you first have to open the trap door and most likely use a flashlight. The assembly is held in place usually by 2 small screws that hold it to a bracket, so that its flame is close enough to ignite a main burner.
So So step 1 is to turn the control dial to off. Open the trap door, identify the pilot/thermocouple assembly and remove the 2 screws.
Step 2 is to go to the control box and see where the tubes enter the bottom, usually there is a protective thin metal shield, protecting the tubing just below the box and it is held on in most cases by 2 small screws. Now just unscrew the screws and remove the shield. You will see something like this.
 This still has the shield on but shows the connections.
Step 3 You simply need to undo the 2 smaller tubes using a 3/8 and a 7/16 wrench or a small adjustable crescent will also work. The wrench goes on the little nut closest to the pipes they are on.
Step 4 once free remove the assembly, by feeding the small pipes back into the large hole in the heater body, as you remove the pilot assembly out the trap door
That is it. Now take that assembly to any plumbing and electric store and ask for a replacement, but make sure the one you get is at least as long as the original.
Step 5 Once you have the new part, just feed the tubing back out the hole in the heater body, so the pilots bracket will line up the existing bracket on the heater. You may need to bend the pipes as required, to get it in place. The pipes are flexible but do not kink them.
Step 6 Screw the pilot assembly back onto the mounting bracket and make sure it is more less in the same proximity to the burner. Bend the fixed mounting bracket if needed to move it as required.
Step 7 Bend the tubes one at a time so the ends go into their respective holes and retighten the nuts. Small word of caution, do not over tighten, these are small brass fittings!
Step 8 Put the protective cover back on and you are almost done.
Now Go ahead and light the pilot light. If it lights and stays on after you release the button, then you have fixed the problem. So turn the temperature control to your desired setting and the main burner should light off. This is a very common problem with water heater and is really a 50 peso fix.

You must be logged in to post a comment.